


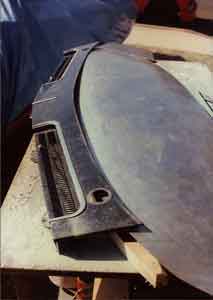
Forming the Dashboard
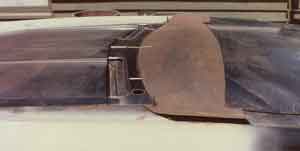
Having hammer welded the fenders to the quarter panel, I felt the hard part was behind me. However, making this piece was an equal challenge and took a lot of time. The reason, it is a compound curve, meaning it curves both directions. An "english roller" is normally used to shape a piece like this. I did not have one. I shaped it on a sand bag with a lot of mallets, body hammers and dollies. Then smoothed it with an air driven planishing hammer.
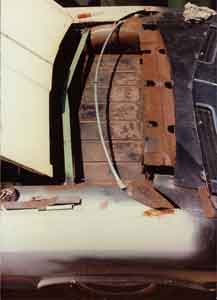
The silver looking bar is 1/2" electric conduit. It will be the brace for the drip panel below the cowl vent. It is welded to the inside of the fender wells. The curve was made to match the rear curve of the cowl vent.
The "dashboard" will flush-up to this piece.
The front of the drip pan will be supported by the green looking brace in the front.
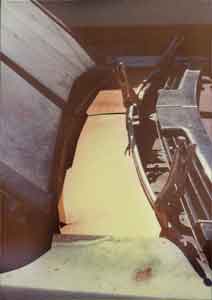
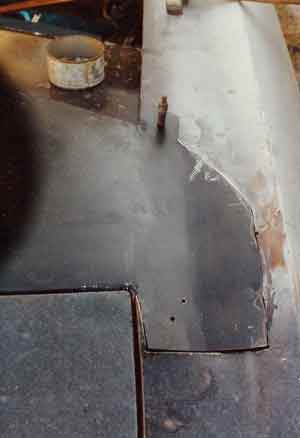
Next, the drip pan, made from three pieces of sheet metal has a lip formed on the rear. This lip is shown clamped with Vise Grips to the brace in the photo above, then it was welded to the brace.
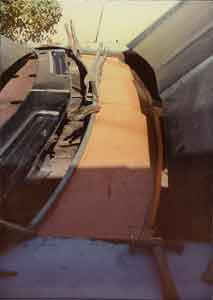
Fit, Measure, test, again and again. a 90 degree flange was the hand formed to met the cowling.
With the cowl supported, I test fit the dash board into the trailer. You can see the extra material I left on each side (almost 6" ), this was to permit fitting into the upper fenders.
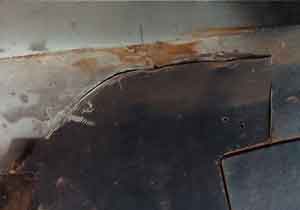
This shows the dashboard as it is being fitted in the fenders.